After a few weeks, your nails don’t look as good as they did on the first day. Before starting a new semi-permanent nail polish manicure, you must first (partially) remove the old manicure. In this article, we will see how to properly remove your semi-permanent varnish with an electric nail drill. Just keep reading!
Removing semi-permanent varnish using a nail drill machine is the most common method in a nail studio. The process is much faster than with a regular file or the dip method, saving you a lot of time. On the other hand, we strongly advise against using an electric file if you don’t have enough skills. If too much of the nail plate is removed, the natural nail will be much too thin. The skin under the nail is burned and the client will feel pain. There will also be issues with catalysing nail products.
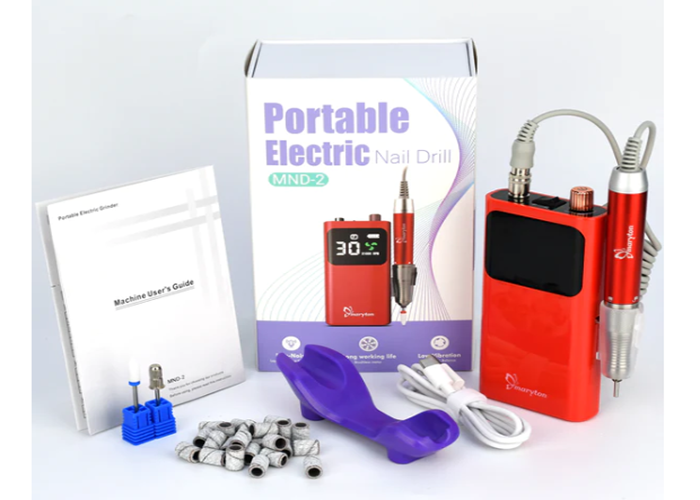
 Rechargeable Maryton Pro Nail Drills 1,000 ~ 30,000 RPM
 In order to avoid damaging the natural nail plate, it is important to make quick and correct movements and not to exert too much pressure on the handle during sanding. Just as you remove semi-permanent polish with a nail file, you also need to use different gradations when sanding. Only sand the top layer of your artificial nails. If you still have a thin layer or small pieces of product on your nails, it is recommended to file the remainder with a nail buffer or polishing block.
Read also: WHAT ARE THE MIRACLE PRODUCTS FOR BITTEN NAILS?
Like this:
Like Loading...
Related